Getting Started
A SaaS modular web app to manage users and content (e.g., Revit Families), complemented by a powerful Revit content browser plugin. Not permitted:
- Sell/resell
- make modifications to the software.
Main Modules
- User Management System
- Content Management System
Both modules provide seamless integration with Autodesk Revit.
Table of contents
- Main Modules
- Access the Web Application & Revit Plugin
- Revit Content Browser Plugin Installation
- Uninstall
- Updates
Access the Web Application & Revit Plugin
On-premises Deployments
- To access the web application use the URL provided to you by your account manager (e.g., your-company-name.dikeeper.com).
- To download the Revit plugin use the URL provided to you by your account manager.
Other Deployments
- Coming Soon.
Revit Content Browser Plugin Installation
Compatibility
- Windows 7, 8, 10 and 11.
- Revit 2018, 2019, 2020, 2021, 2022, 2023, 2024, and 2025.
First web application access
- First of all, make sure you have created your DiKeeper account. Ask your manager to send you an invitation to register on DiKeeper. You will receive an invitation by email, and you should click on “Join Now” and then will be directed to the registration page.

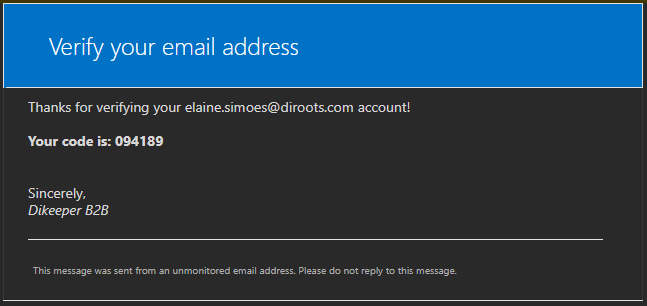
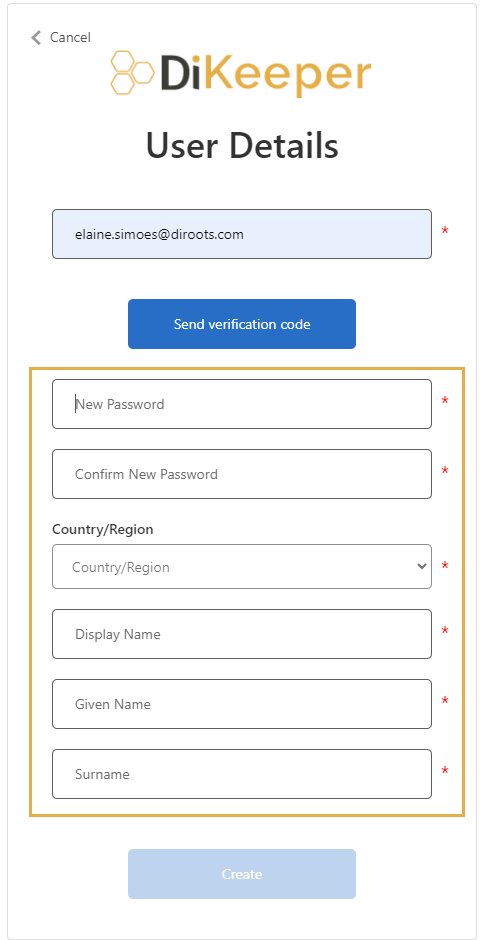
- Enter your e-mail address and click on “Send verification code”, then access the e-mail to obtain the verification code to check your e-mail account.
- Fill all personal information fields and click on “Create” button to conclude.
Standard Revit Plugin Installation
This method is ideal for individuals who want to install DiKeeper in one computer.
-
Run DiKeeper installer.
-
Select the Revit versions and click ‘Install’.
-
Wait for the installation to complete and click ‘Finish’.
Silent Installation
This method is ideal for IT administrators who want to deploy DiKeeper to multiple computers.
- Install for all compatible Revit versions.
# This method will silently install DiKeeper for all compatible Revit versions.
<installer-name>.exe /i // /qn accept_eula=1
- Exclude specific Revit versions.
# In this example DiKeeper will NOT be installed for Revit 2017, 2018, and 2019.
<installer-name>.exe /i // /qn accept_eula=1 revit2017="" revit2018="" revit2019=""
Uninstall
Using the installer User Interface
-
Run DiKeeper installer.
-
Select and click ‘Remove’.
3 . Wait for the uninstallation to complete and click ‘Finish’.
Using the installer silently
Uninstall DiKeeper without user interaction.
# This method will remove DiKeeper from your computer.
<installer-name>.exe /x // /qn
From the control panel
-
In the search box on the taskbar, type Control Panel and select it from the results.
-
Select Programs > Programs and Features.
-
Press and hold (or right-click) on the program you want to remove and select Uninstall or Uninstall/Change. Then follow the directions on the screen.
Updates
DiKeeper includes an updater to help you keep it up to date. The updater will:
- notify you whenever a new version is released (the action is triggered on Revit close event).
- ask you to install now or to remind you tomorrow.